The exam library is where all exams are saved and stored. There are a number of options for teachers in their exam library, such as:
- Editing past exams
- Previewing and printing exams
- Sharing exams with colleagues
- Archiving exams
The library
To find your library, choose the Exam tab in the left-hand toolbar. Then choose the Exam library sub-tab near the top of the page (figure 1). You can start and schedule exams directly from your exam library. To learn more about starting and scheduling exams click here.
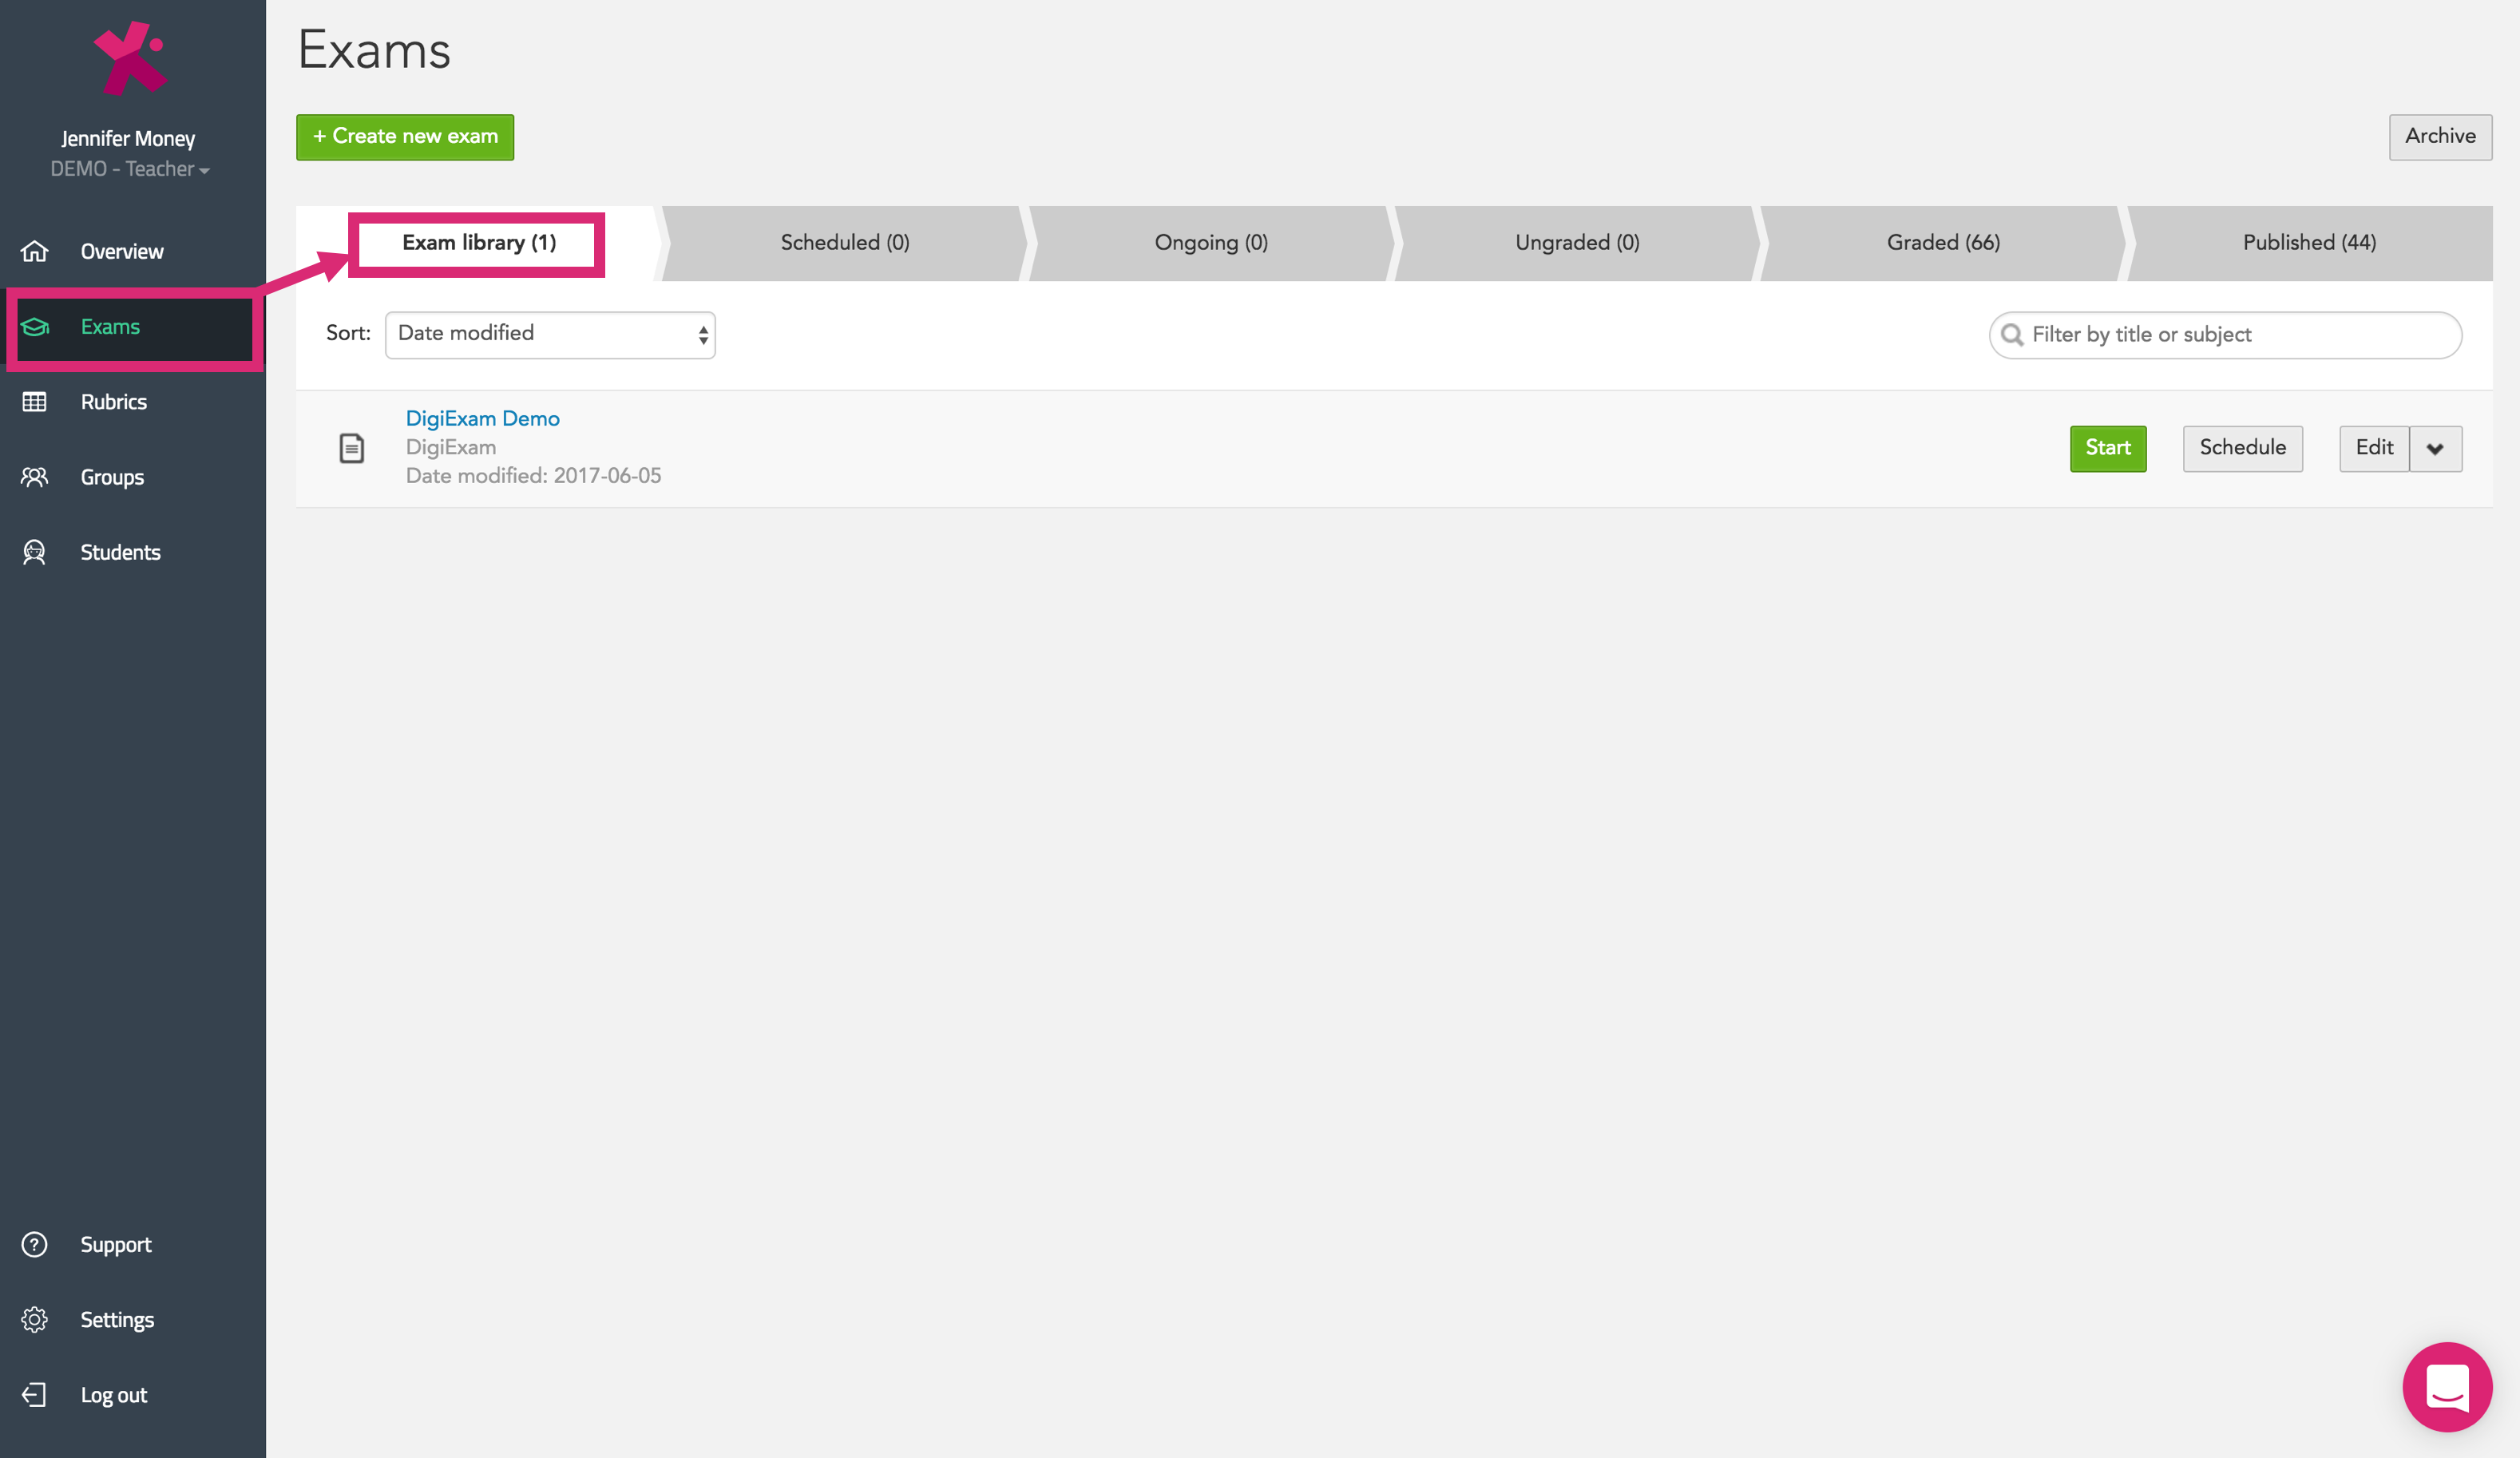
Figure 1
Searching the library
The library allows you to search and sort your exams in order to locate them more easily. You can type an exam name into the search box. You can also sort exams by title, subject, modification date, and creation date. (figure 2)
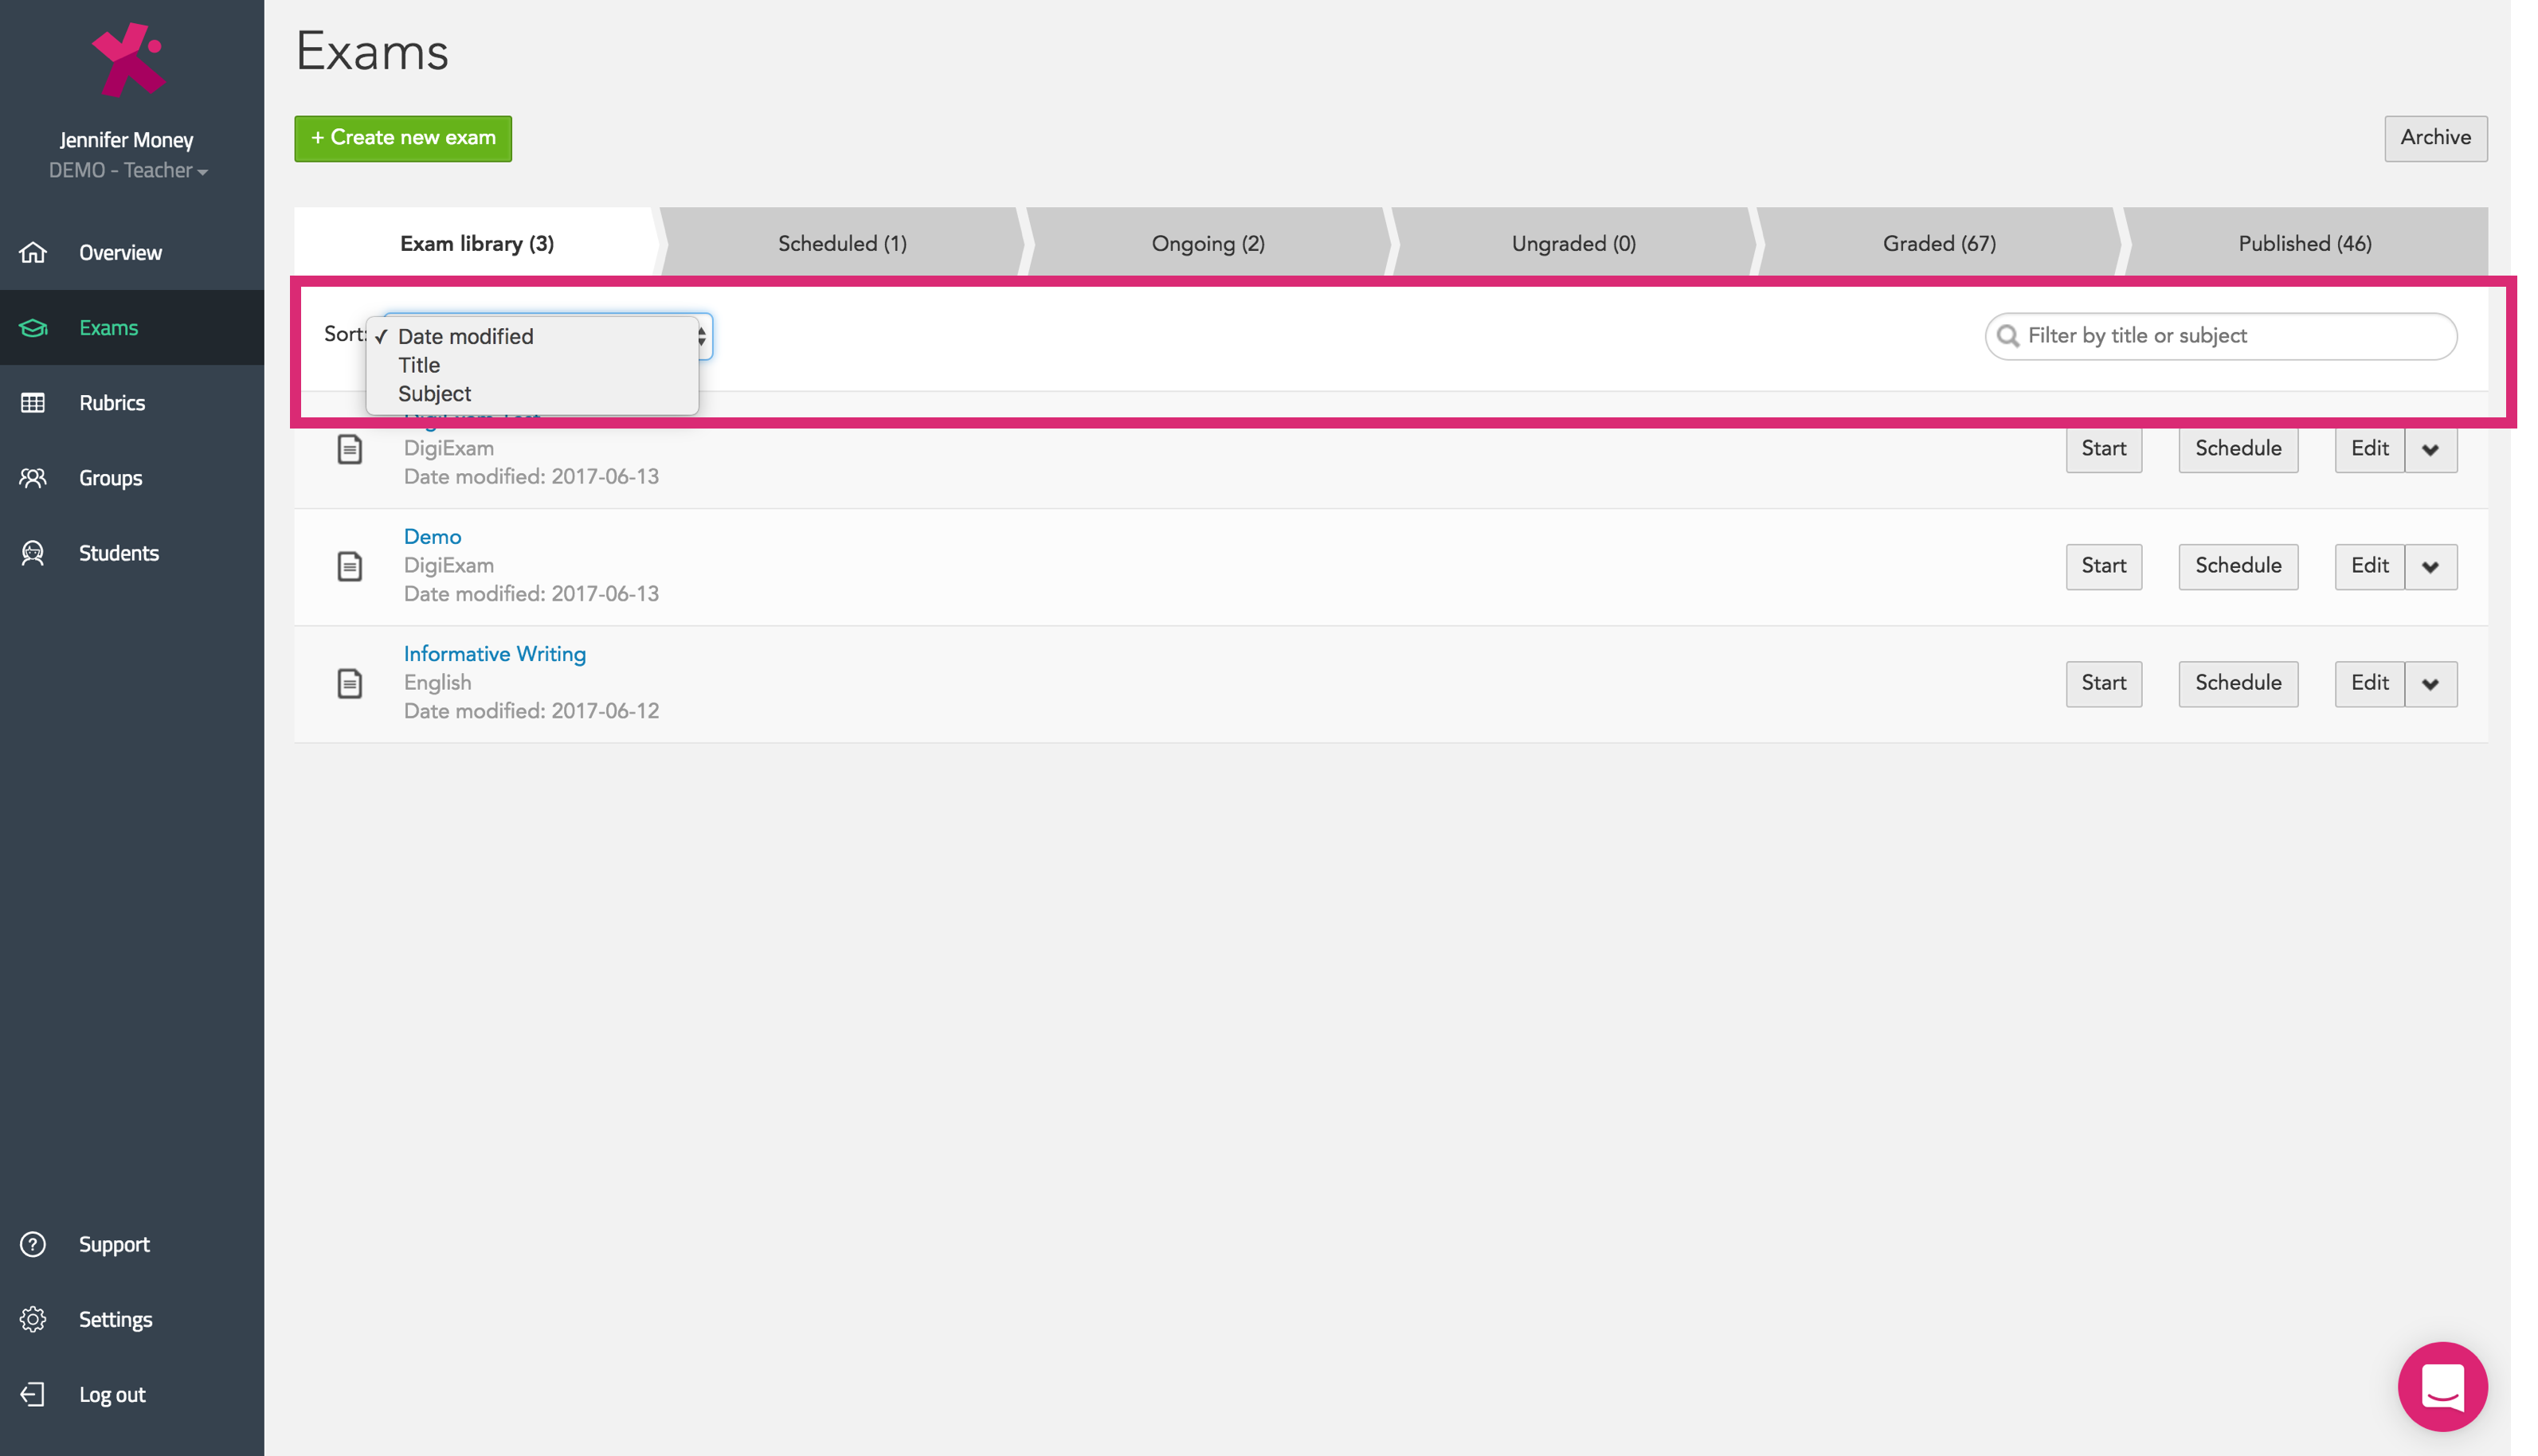 Figure 2
Helpful library features
Once an exam has been created and saved you will be able to find it in your library. On each saved exam you will see four actions listed under the Edit dropdown menu (figure 3).
The actions include:
- Edit
- Preview
- Share
- Archive
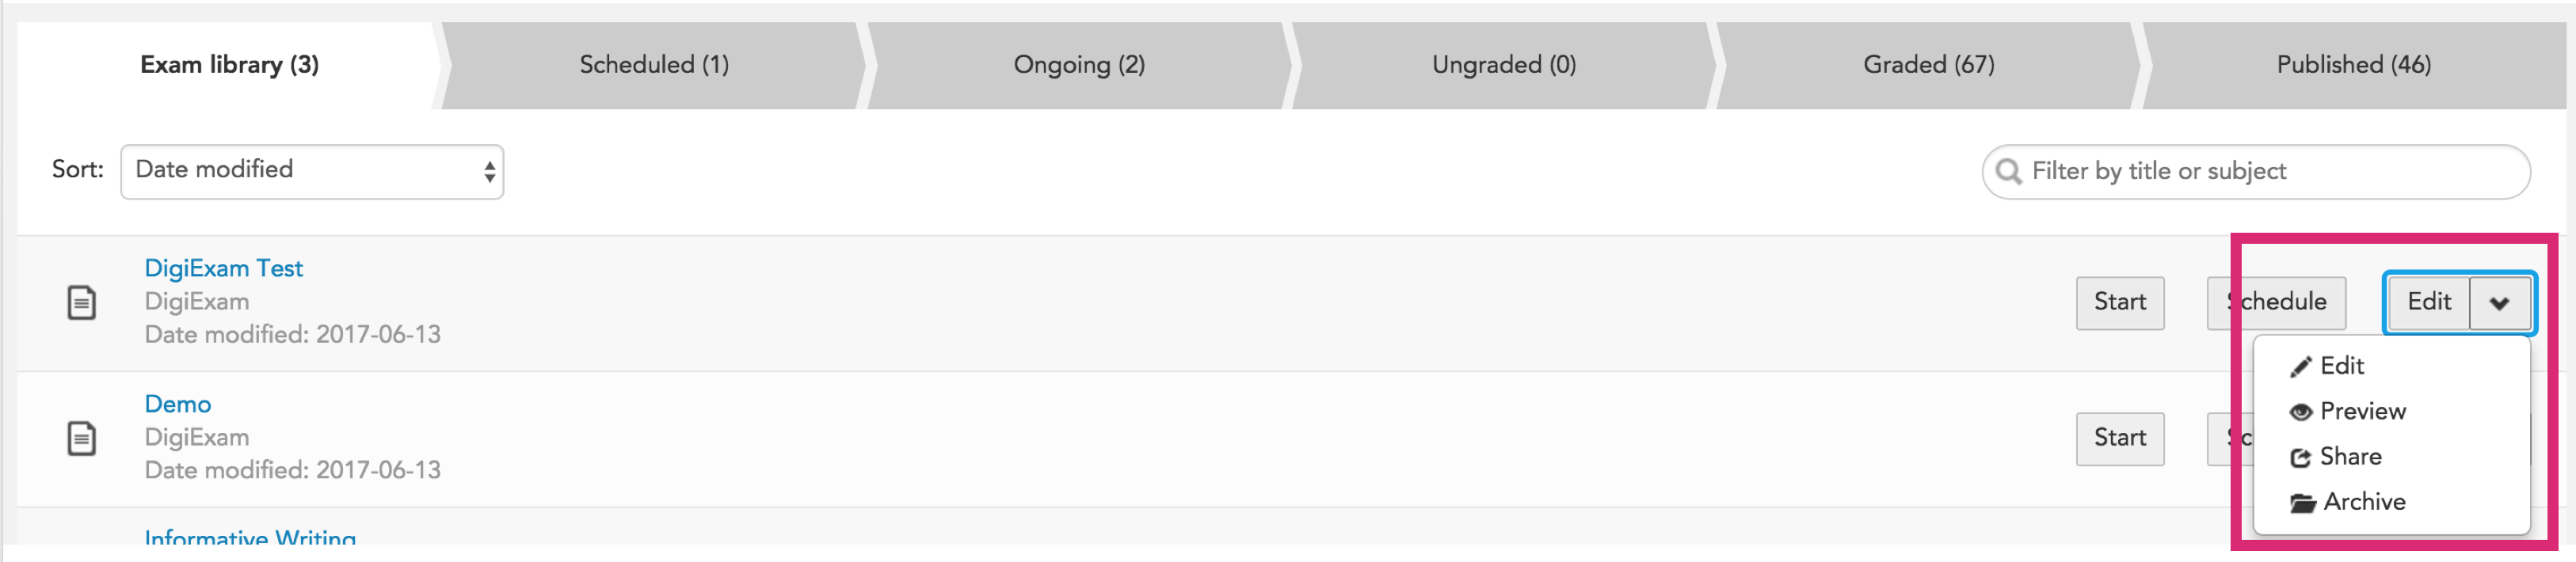
Figure 3
3.1 Edit
The edit feature allows you to make changes to an exam. Select the edit button (figure 4) to begin making changes. Your exam will be pulled up and look the same as when you first created it. You can add and remove questions, change point values, answer choices, revise notes, etc.
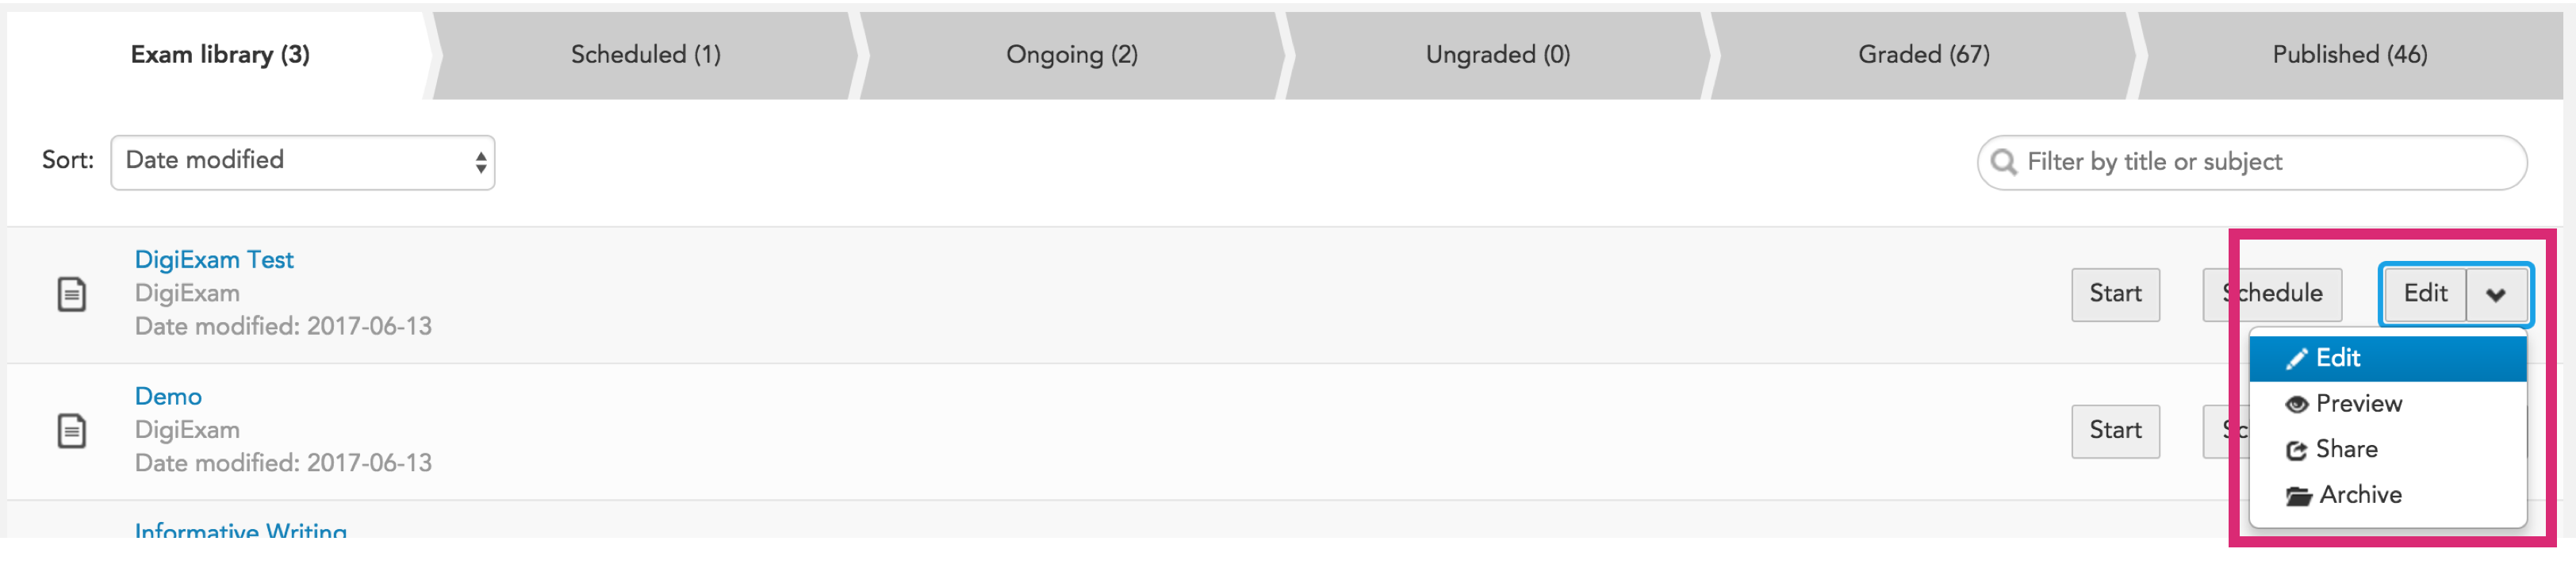
Figure 4
3.2 Preview
The preview feature gives you an idea of what the exam will look like for your students. You are also able to print paper copies of the exam from the preview view. Select the preview button (figure 5) in order to bring up the exam preview, then click on the green print button in order to print out a paper copy of the exam (figure 6).

Figure 5
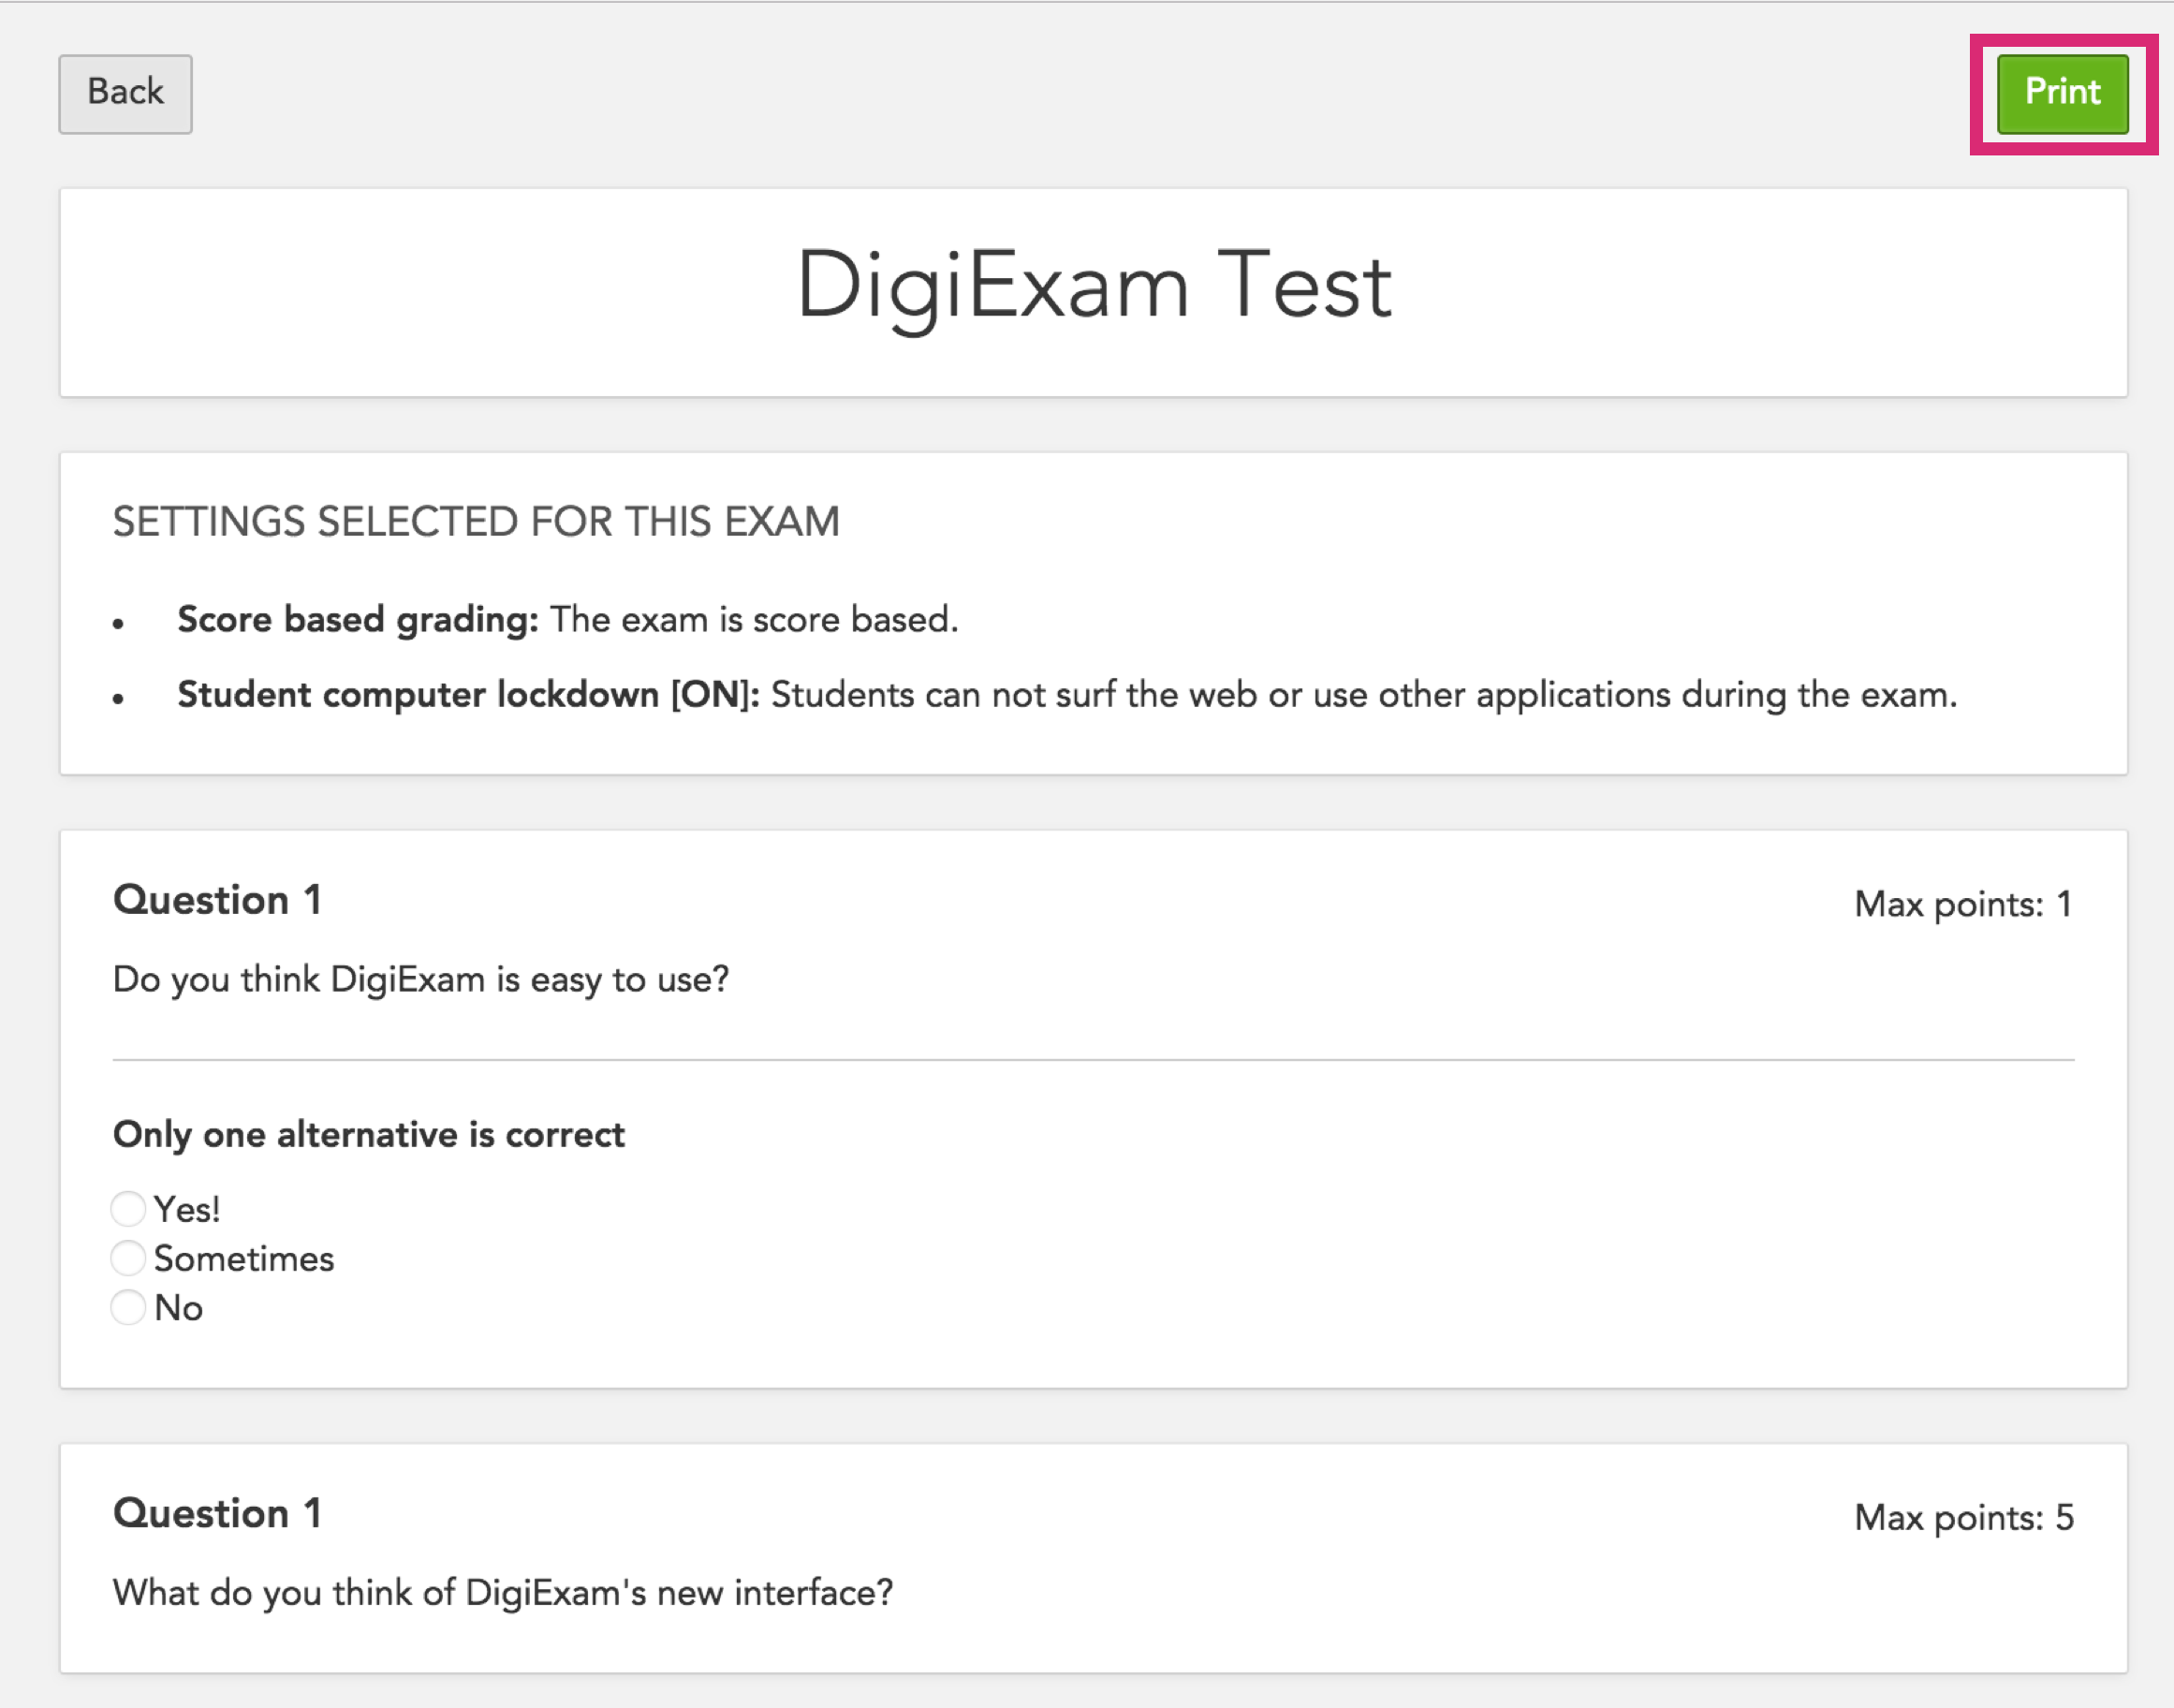
Figure 6
3.3 Share
The share feature allows you to send your exam to colleagues. Select the share button (figure 7) and enter the email address(es) of the colleagues you would like to send your exam to (figure 8). The exam will automatically appear in the library.
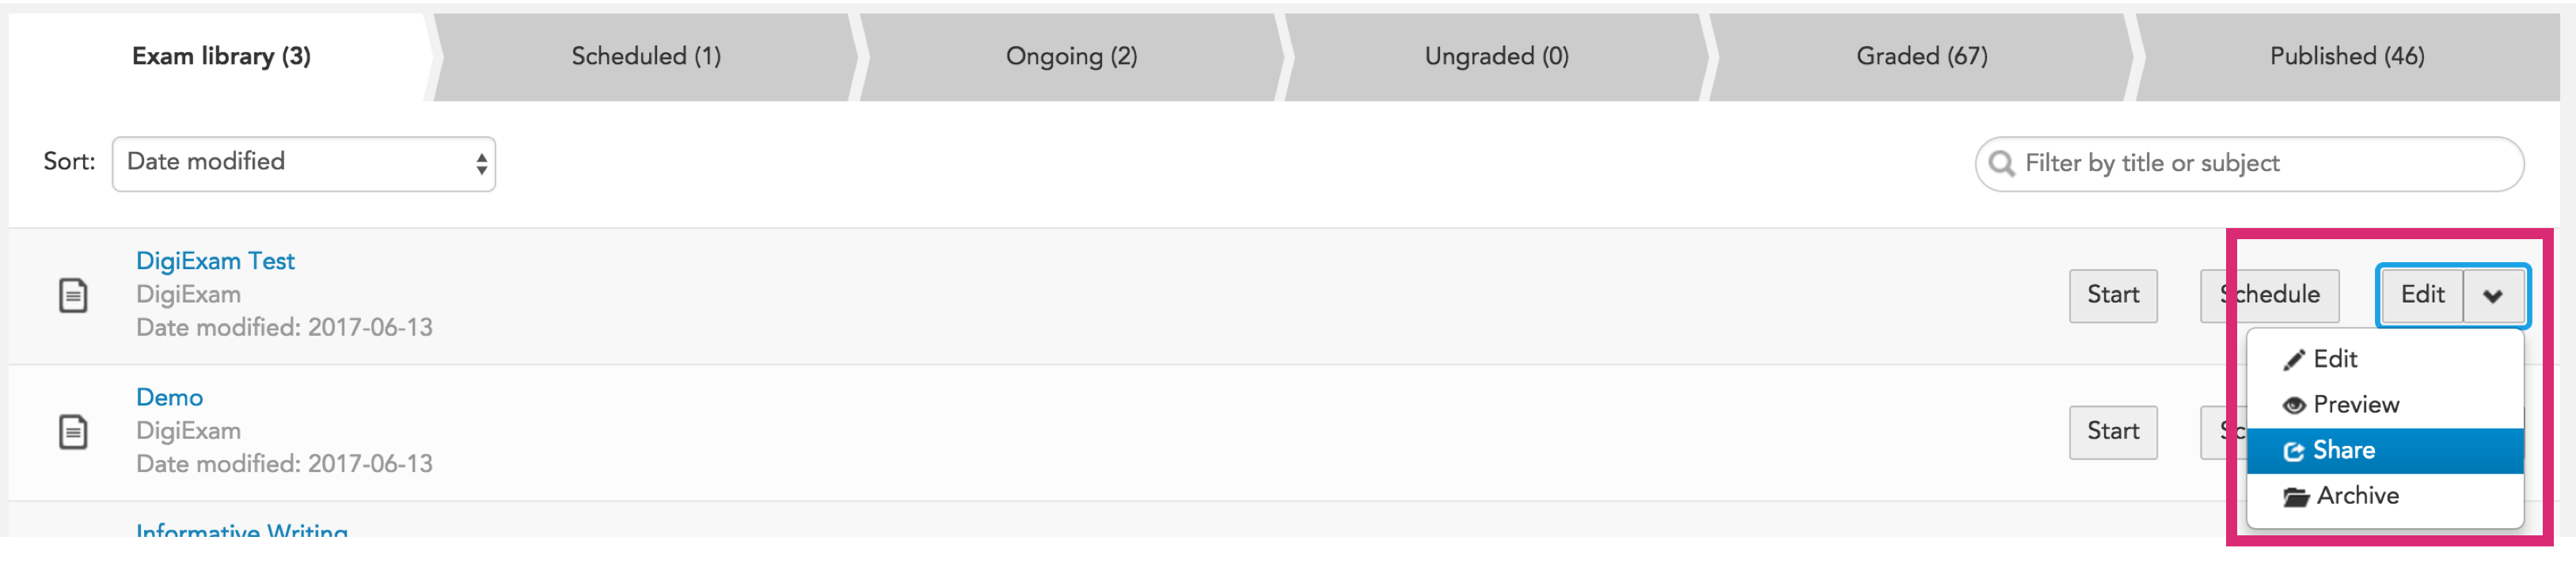
Figure 7

Figure 8
3.4 Archive
The archive feature will remove an exam from your library and move it to the archive tab. Select the archive button to remove the exam from your library (figure 9). This can help you keep your library more organized if you think you no longer need an exam. You are always able to restore an archived exam. Click on your archive tab (figure 10), locate the exam you wish to restore and click the restore button (figure 11). Your exam will be added back to your library for you to use, edit and share.
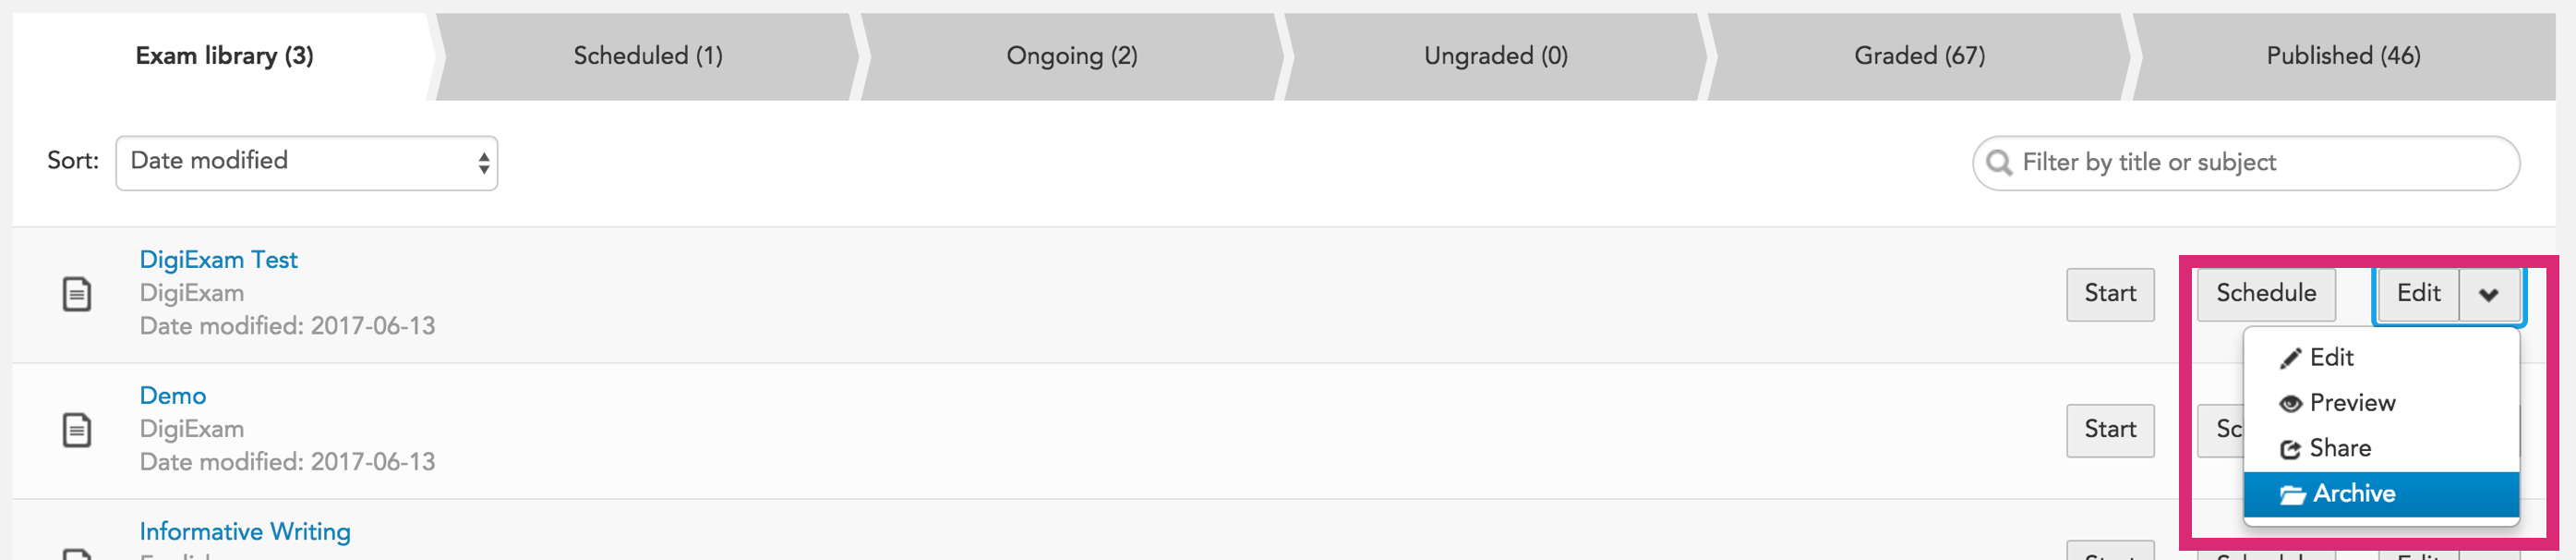
Figure 9
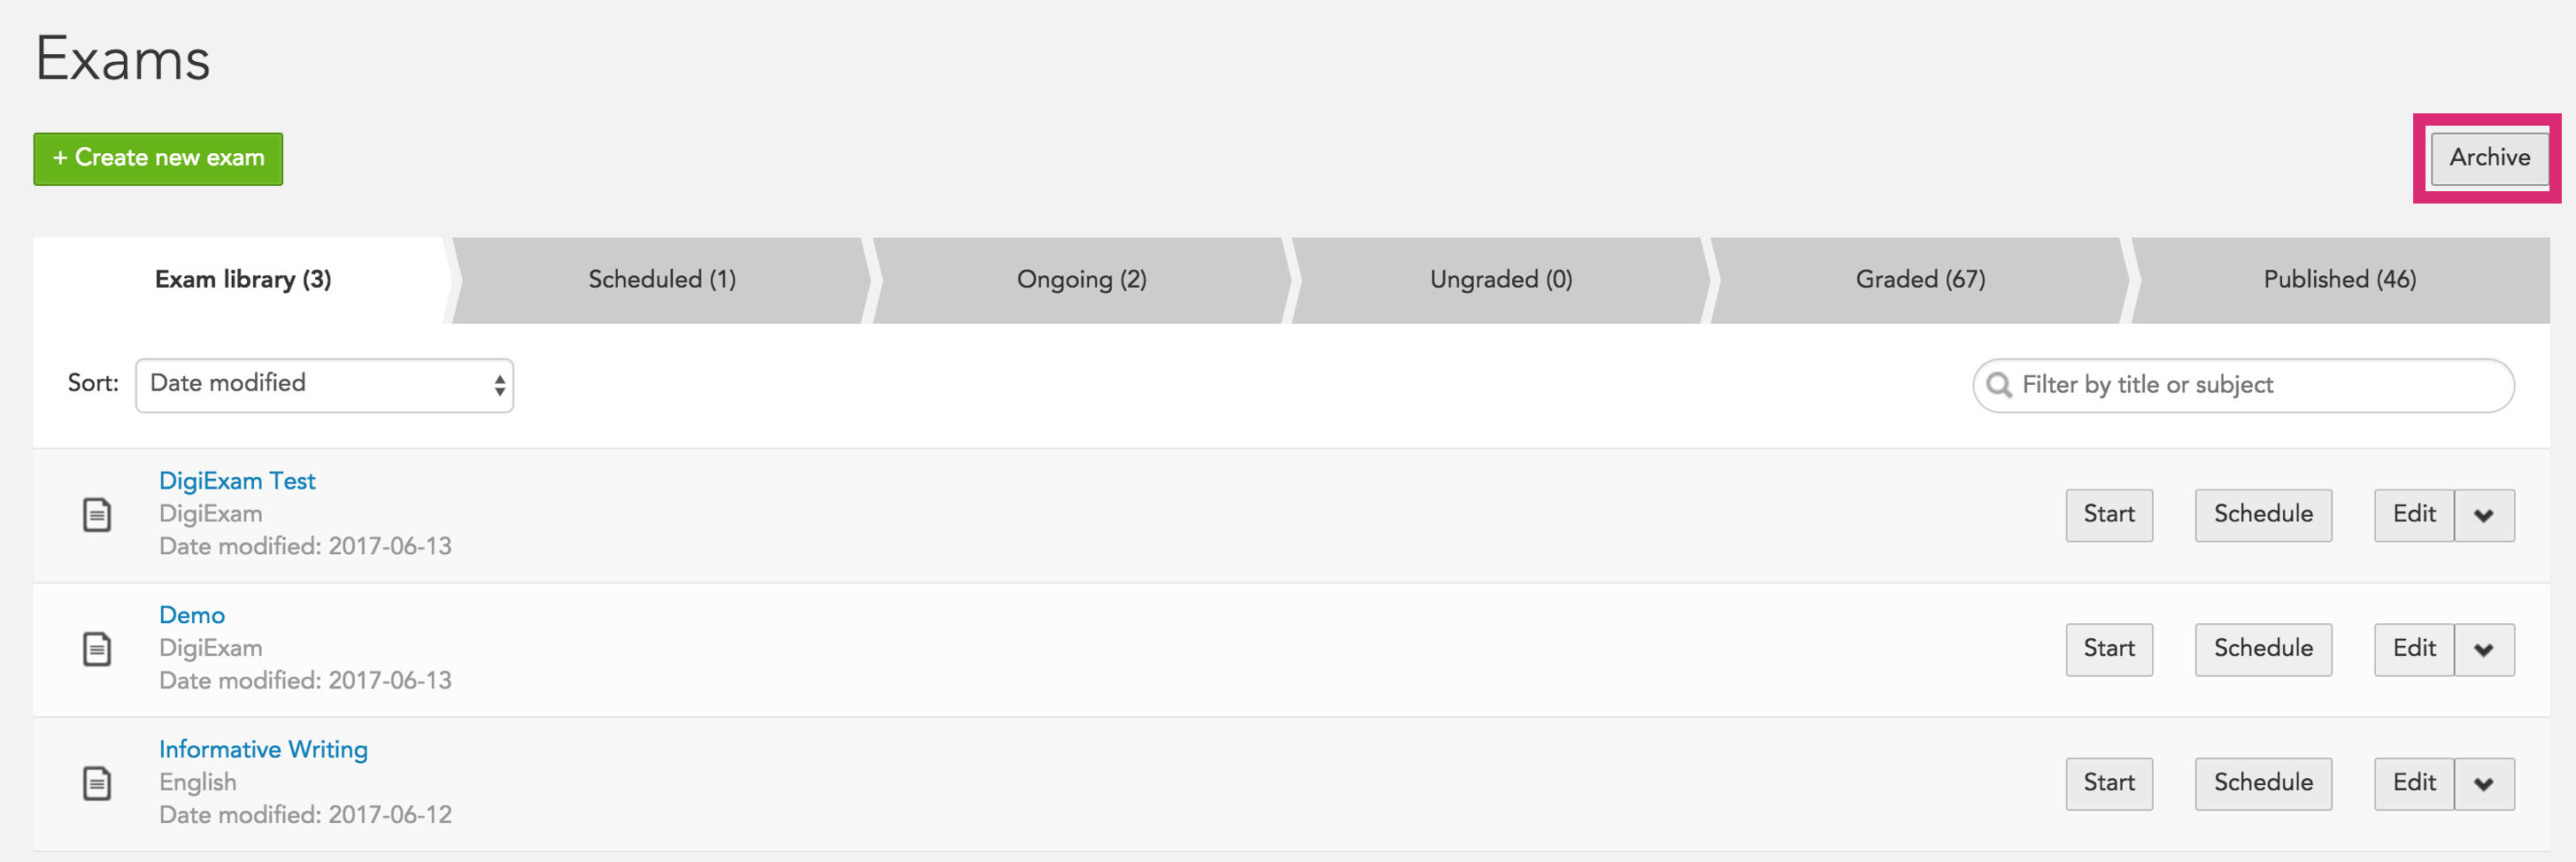 Figure 10

Figure 11
Comments